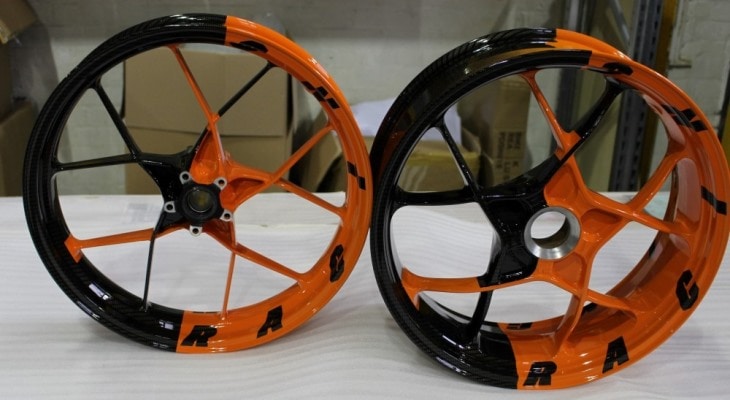
If you’re a motorcycle owner, you may have rims that are chipped or nicked and in need of painting.
Typically, in this situation, people will take their rims to the shop to have them powder coated, which is the way rims are generally colored and painted. However, this method is very expensive and it can take up to a week or two for the shop to finish up your rims.
It doesn’t take much to paint motorcycle rims. You’ll need a few different chemicals, including paint stripper, degreaser, primer, paint, and clear coat. Beyond that, you’ll need safety gear and tools to remove your wheels from your bike. Once the wheels are off, you’ll apply the various chemicals and paints in order, letting them dry between each coat. You’ll also use sandpaper to create a paintable surface on your rims.
DIY’ing your rims is quite simple, and much cheaper than taking them to the shop to have them powder coated. If followed correctly, these steps will result in a product that is just as beautiful as powder coating and almost as durable.
Table of Contents
Materials Needed
- Gloves
- N95 mask
- Water
- Masking tape & newspaper
- Stripping spray
- Degreaser
- Wire brush
- 800 grit sandpaper
- 2-3 cans of paint in your chosen color
- Clear coat
- Tools to remove rims
Set Up Your Workspace
The first step when repainting your motorcycle rims is to set up an appropriate workspace. You need a space that is fairly clean and well-ventilated because we’ll be working with aerosol sprays. You’ll want a table or other surface where you can set the wheels while you are working on them.
Furthermore, you may also want a small bucket or bowl that you can turn upside down and balance the wheel on so that you can paint both sides.
Remove Wheels
The next step in painting your motorcycle rims is to remove the wheels from your motorcycle. Because we’ll be working with so many aerosol sprays, you want to have the wheels in a space away from your motorcycle so that no stray paint or paint stripper gets on the body of your bike.
Use whatever tools are necessary to remove the wheels from the motorcycle. Place your wheels on the surface that you’ve prepared for your painting work. If need be, balance them on an upside-down bucket or bowl to make it easier to access the surface.
Optional: Remove Rims
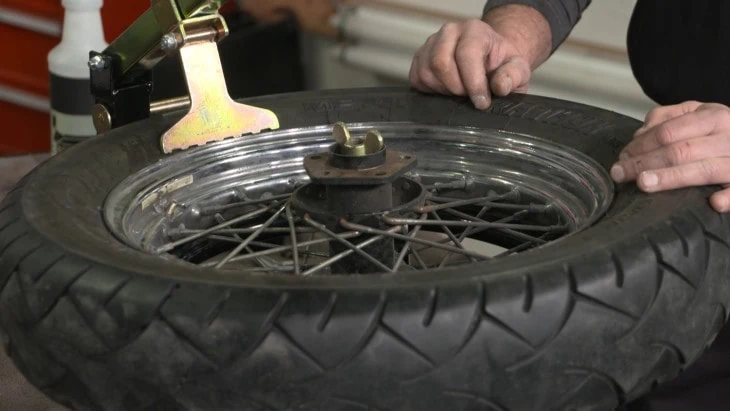
While it is essential to remove your wheels from your motorcycle in order to paint them, it is up to you whether you’ll remove the tires from the rims. Removing the tires from the rims makes it easier to avoid getting spray paint on the tires themselves, but you can also use masking tape and newspaper to cover the tires to protect them.
Clean the Rims
The first part of preparing your rims for painting is simply to clean them with water. Just take a rag and wipe all the dirt and excess paint off of your rims. Don’t worry if you can’t get it all off, the next steps will take care of any leftovers.
Mask the Tires
To protect your tires from the sprays we are about to use, it is important to mask them with tape and newspaper. Take the tape and newspaper and attach the newspaper to the tires where they connect with the rims. Cover the entire tire with paper and tape, leaving the rim exposed for painting.
Use Stripping Spray
Check the instructions on your stripping spray bottle and follow them. Typically, you’ll apply the spray to the entire surface of the rim and let it sit for fifteen minutes, and then scrape off the excess paint with a wire brush and sandpaper. Once you can see the metal below the paint, stop scrubbing that area so that you don’t scratch the metal.
Make sure that you are wearing gloves and a mask for this step and all the following steps to keep yourself safe.
Apply Degreaser
The next step is to apply a degreaser to get rid of any leftover paint, stripper spray, and grease left on your rim. Spray the degreaser onto the surface and let it sit for however long the instructions call for. Then, wipe it off along with all the leftover paint and substances that were on your wheel. At this point, you should have a fairly clean, smooth surface to paint.
Apply a Self-etching Primer
Now you’re ready to start the painting process! Take your self-etching primer and apply it to the rims in even strokes. You want the can at least a foot away from the surface that you’re spraying to avoid overpainting. If you’re nervous about painting, you can always test your primer on a scrap cardboard until you feel comfortable using it.
After you’ve applied your first coat of primer, let it dry for about thirty minutes. Then, take some wet sandpaper and lightly rub the entire rim with the sandpaper to create a better surface for the paint to stick to.
Repeat this process once, applying the primer once more and sanding it once more to complete the priming part of the job.
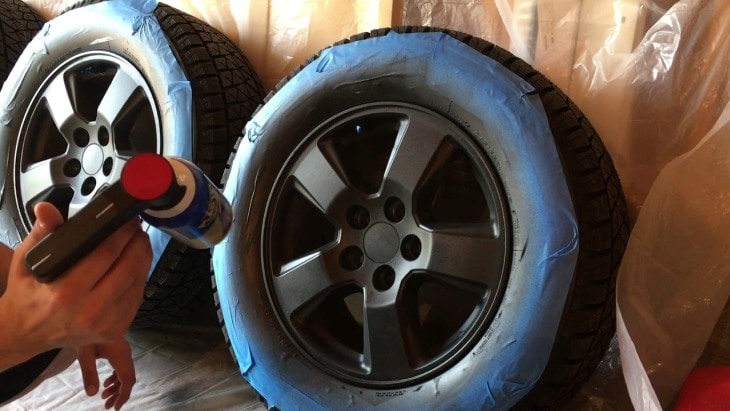
Apply Paint
After you apply your primer and sand it down, the next step is to apply your paint. Again, you want the can at least twelve inches from the rim, and you should apply it in even strokes across the whole surface.
You’ll want to apply at least two, and possibly three, layers of paint. Read the instructions on your paint can to know the drying time between coats. It is typically at least half an hour. Paint will dry faster if you work with it in a well-ventilated area, and direct sun will also help it dry quickly.
Apply Clear Coat
![]()
After your paint has dried completely, the last step is to apply a clear coat to seal the paint and protect it from dings and scratches. Apply the clear coat as you did the primer and paint, holding the can twelve inches from the surface of the rim and spraying in even strokes. Let the whole thing dry for about twenty-four hours and you’re good to go!
Just reattach your rims to your tires and your bike, and ride on in style.
How Much Does a DIY Rim Painting Job Cost?
While powder coating motorcycle rims can cost up to $700, the DIY method is much cheaper. You’re mostly paying for materials, and will only really need to work on the rims for a few hours to complete the job.
The cost for DIY materials ranges from around $50 to $100 depending on which materials you already have lying around your house.
Because DIY rim painting is so cheap and, if done properly, almost as effective as powder coating rims, it’s a great option for anyone looking to save money on their motorcycle work.
In Conclusion
As you can see, painting your own rims is really not that complicated. It requires just a few tools and just a few hours to get your rims looking good as new in a color of your choice.
While powder coating rims can be quite expensive and has limited color options, spray-painting your wheels is much cheaper and can look just as good.