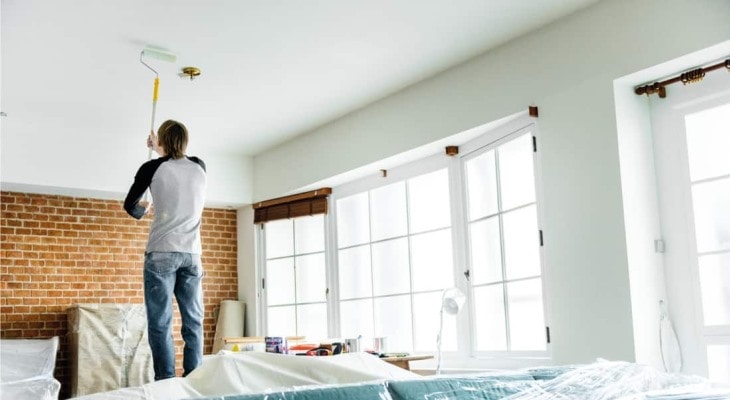
Ceilings can be tricky to paint, not to mention tiring. They usually have a larger surface area compared to walls, and most of the time, you will have to divide the painting into sections. All these issues can lead to a streaky paint job and lap marks.
Luckily you can apply the following tips for a smooth and flawless finish.
How to Get Started
Before painting your ceiling, there is some prep work that will need to be done. Here is what you will need and how to get started:
Clear the Space
When painting a ceiling, you will more than likely need a ladder. It will be easier to move around the room without having objects in your way.
Drop cloths
If you can’t remove the furniture from the room for some reason, cover them and the floor with drop cloths to avoid them from getting ruined should they come into contact with any paint.
Use a Primer
A primer will prevent blotches caused by uneven paint absorption. It is a great tool to use if you have any stains on your ceiling, as it will prevent the stain from seeping through your new coat of paint.
When using primer, always ensure you have enough of it to cover the area you are painting. If you start running out and trying to cover the remaining area by pushing harder on the roller, it will cause streaks.
Ceiling Paint
To get that smooth finish you want, it is essential to pick out the correct paint for your ceiling.
Flat sheen paint is commonly used, but you will be able to find paint specifically made for ceilings like this one from Rust-Oleum.
Ceiling paint is thicker than wall paint and has a matte finish. This ensures that it effectively hides watermarks, stains, spots, and other flaws on the surface. Due to ceiling paint being so effective, you might only need one coat.
If you happen to have traditional wall paint at home and want to use it, you can, but always use a primer first. The primer will cover any stains or flaws and creates an adhesive for the paint.
Another common issue with painting a ceiling is the color. Most people prefer white ceilings, and if you are painting over a white ceiling with white paint, it might be hard to see the areas you have missed.
To avoid this issue, you can opt for color-changing paint. It has a tint of color when wet but dries completely white, like this one from INSL-X.
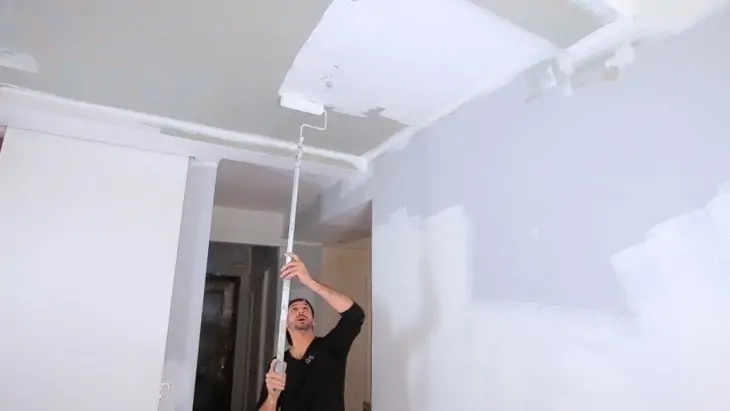
Choosing the Right Roller
When it comes to painting ceilings, you want to ensure that you have the right equipment. Rollers made from microfiber will pick up, hold and release paint better than other rollers, making them the perfect option for a smooth finish without streaking.
The size is important too.
You don’t want a roller that is too big and will be heavy when using. You also don’t want something too small that will take forever to get the job done and probably cause streaking.
The perfect middle ground would be a 9 -inch roller with a 3/8-inch nap like this one from True Blue. The nap is the measurement of the cover material.
Cut-In Corners
Cut-in corners is when you paint the borders of your ceiling with a paintbrush before using the roller to paint the remainder of the ceiling.
If you are not painting the walls, you should apply masking tape to the borders of your walls and ceiling to avoid any slip-ups. If you are using masking or painter’s tape, ensure to remove it before the paint dries. Otherwise, you might chip the paint when trying to remove it.
You should always paint ceilings before the walls, so you can paint over them if you have a slip-up.
To avoid any streaking, ensure you roll the remainder of the ceiling while the corners are still wet and try to roll the whole ceiling at once. If the area is too big, try to paint large sections at a time.
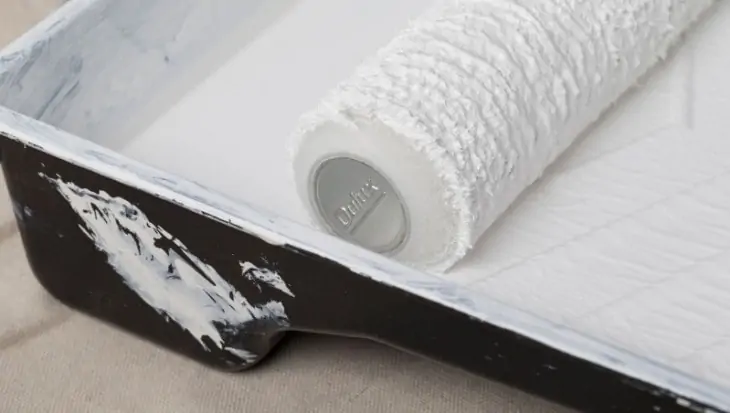
Don’t Use Too much Paint
One of the leading causes of streaky paint jobs is the use of too much paint. Having too much paint on your roller will leave thick lines behind.
To avoid this, roll any extra paint off the roller and reroll the areas with lines, smoothing them out.
Overlap Strokes
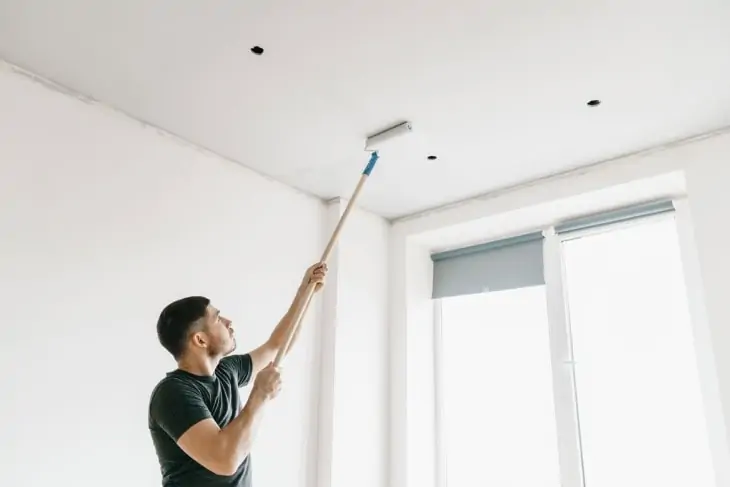
When you paint with a roller, the paint tends to run to the edges of the roller and cause thick lines on either side of the stroke. Start your second stroke by slightly overlapping your first stroke. By overlapping your strokes this way, you ensure a smooth, even finish.
Alternate the Direction of Your Roller
Another method that will help you avoid streaking is by alternating the direction of your roller.
For example, for the first coat, roll down the length of the room. Leave it to dry, and then for the second coat, roll down the width of the room.
By using this technique, you will keep the paint job even and camouflage any marks that might occur.
How to Fix Roller Streaks That Have Dried
If you have already painted your ceiling and have streaky patches, don’t worry, you can fix this. There are two strategies you can try that will help you eliminate streaks:
Another Coat of Paint
Roll over the streaking areas with another coat of paint. Use caution this time and ensure that you are not applying too much pressure, which will cause additional paint to seep out the roller. On the other hand, ensure that you have enough paint on the roller. Having too little paint will cause more streaking.
Sandpaper
Sand down the streaky areas to even out the roller marks. Clean up the area by wiping it down with a dry microfiber cloth; once cleaned, you can lightly paint over the streaky area.
Cleaning Up
Cleaning your painting equipment is very important and should be done immediately after painting.
Transfer all your paint back into its container and make sure it is adequately sealed. There are two options for the roller:
The Easy Option
This option is only to be used if you plan on painting in the very near future. You can store it full of paint in a plastic bag. This way, you avoid wasting any leftover paint and can continue your job the next day.
Cleaning the Roller with Water or a Solvent
If you have finished your painting job or want to use a different color, you will need to clean your roller with water or a solvent depending on the type of paint used.
Water-Based Paints
If you have used water-based paint, clean the roller with warm water and dish soap until all the paint has been removed. Rinse the roller with clean water and squeeze out the excess.
Oil-based Paints
For any oil-based paints, you will need a solvent. The instructions on the paint container will explain which solvent you will need to clean that specific paint type.
Once cleaned, you should store the roller in a plastic bag to avoid it drying out and becoming unusable.
Final Thoughts
You will put in a lot of hard work painting your ceiling, but with the correct preparations and methods, you will be able to paint like a pro. Take your time and enjoy the therapeutic benefits painting has to offer.
You will find nothing more rewarding than putting in the effort and reaping the rewards.