Many paint projects require a primer before you can start with color. Don’t get too impatient, though! Primer needs to have plenty of time to dry before the paint can be applied. How much time? That depends on a number of factors.
We’re going to find out just how long you need to wait for your primer to dry and the best way to apply primer. Optimize your home painting project with this complete guide to primer!
Table of Contents
When Should Primer Be Used?
- Water damage. Surfaces that have water damage should be sealed with primer before they are repainted.
- New drywall. Brand new drywall is very absorbent. It should be primed before paint is applied. Primer will seal the drywall and minimize the risks of cracks in your paint.
- Smoke damage. Primer will seal smoke-damaged surfaces, so they can be repainted.
- Wood surfaces. Wood is also porous. It is best to seal it and fill in the cracks before you paint.
These are the most important factors behind the drying time of primer.
Who is the Primer Manufacturer?
We’ve all heard “You get what you pay for”. Low-quality primer will take longer to dry. Stick with a reputable brand for the best sealing primer with a quick drying time.
What is the Type of Primer?
Oil-Based Primers
Oil-based primers are best for priming wood. In fact, you may even see them labeled as “wood primers”. Oil-based primers can be purchased for exterior or interior use.
Since primer soaks into the wood, it can take longer to dry. Kilz Original has one of the quickest drying times and is usually dry in about an hour. Other types may take up to 24 hours, depending on the temperature and humidity.
Bonding Primers
Bonding primer is water-based. It does exactly what its name suggests – it bonds upon application to any surface.
Bonding primer is great for porous surfaces, like concrete or brick. If you apply paint directly to concrete, it may flake or wash off. However, if you use a bonding primer, it will seal the surface, and bond to the paint when it is applied.
Bonding primer will dry in 1-24 hours, depending on the environment.
Drywall Primers
A drywall primer is a water-based primer that is specifically designed to seal drywall so that it can be painted. New drywall is porous and will soak up paint if a primer is not applied first.
Drywall primer dries quickly! Some brands feel dry after only 30 minutes. Some can take up to 24 hours. Again, it depends on the heat and humidity in the area.
What is the Temperature?
77 degrees Fahrenheit is the ideal primer-drying temperature. Primer will take longer to dry in both much hotter or much colder temperatures.
What is the Humidity Level?
High humidity will definitely slow down your paint project! The humidity level will affect primer drying time much more than the temperature.
Primer will dry quicker in humidity levels of 50 percent or less. Higher humidity will lead to longer drying times. With higher humidity, there are more water droplets in the air, which is why it takes the primer longer to dry.
What Type of Surface Are You Priming?
Drywall
Drywall will dry relatively quickly after primer is applied. However, the type of surface doesn’t have a lot of impact on the drying time. Humidity is a much more important factor.
Wood, Concrete, or Brick

These materials are all more porous and may take longer to dry than other surfaces.
What is Your Application Method?
A paint sprayer is the most efficient method of primer application! If you have access to a paint sprayer like this one, put it to use! It will apply a thin, even coat of primer that will dry faster than primer applied with a brush or roller.
How Can You Speed up Primer Drying Time?
Fans
Moving air will help speed up the drying process! Place fans around the project area. Just make sure that you are not blowing dust or debris right into your wet primer!
Dehumidifier
Humidity is the most important factor to impact drying time. If you have access to a dehumidifier like this Honeywell, run it before, during, and after applying primer. This should speed up the drying time significantly!
Ventilation
Keep that air moving! If your project is outdoors, you don’t need to worry much about ventilation! Pieces, like furniture, should be primed in an open garage, if at all possible, to minimize fumes, and speed up drying time. If you are priming indoors, open up the windows!
How to Apply Primer for Quick Drying Times
Supplies Needed
- Primer (see the guide above, and pick a primer based on the surface to be primed.)
- Rollers, a paint tray, and brushes, OR
- A paint sprayer
- Painter’s tape
- Drop cloths
- Safety goggles, and a mask (if working in an unventilated area)
- Step ladder
- Sanding sponge (for some projects)
Step-by-Step Guide to Applying Primer for the Quickest Drying Time
Choose and Purchase Primer
Remember, the type of project determines the type of primer. Once you’ve picked a primer, make sure to purchase enough for your entire project. One gallon of primer covers about 250-400 square feet.
Prepare the Surface to be Primed
This will vary, depending on the surface to be primed. If you are priming drywall, repair any holes or dents, and wait for the drywall compound to dry. Use the sanding sponge to sand the repaired areas until they are flushed to the rest of the wall.
Concrete, brick, and wood surfaces should all be cleaned before priming. Use a pressure washer for the best results. Wood should be lightly sanded before applying primer. You want your surface to be as clean and smooth as possible!
Protect the Surrounding Area
Tape off any edges with the painter’s tape, and place drop cloths around the area. This will protect other surfaces from the primer.
Prepare to Paint

If you are using a paint sprayer, follow the instructions that come with the sprayer. Many sprayers require the primer to be thinned with water before application.
If you are using a brush and rollers, lightly dampen the roller with water to help it absorb the primer. Pour the primer into the pan.
Cut in the Edges and Corners
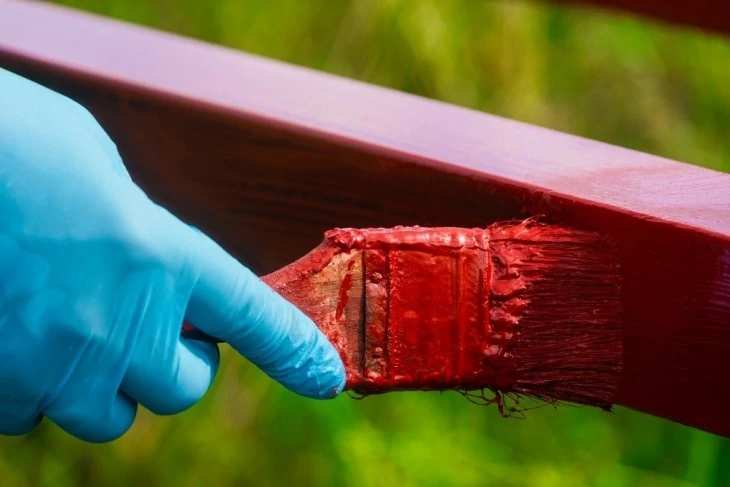
“Cutting in” is just a term for painting around the edges. Use a brush to prime all the top and bottom edges, and down both sides of each corner. If you have a small project, like a piece of furniture, you may use a brush for the entire project.
Apply the Primer
Practice on a piece of cardboard with your paint sprayer until you are comfortable with the spray pattern and the motion needed to apply the primer. Once you are comfortable, stand back, and spray the area evenly.
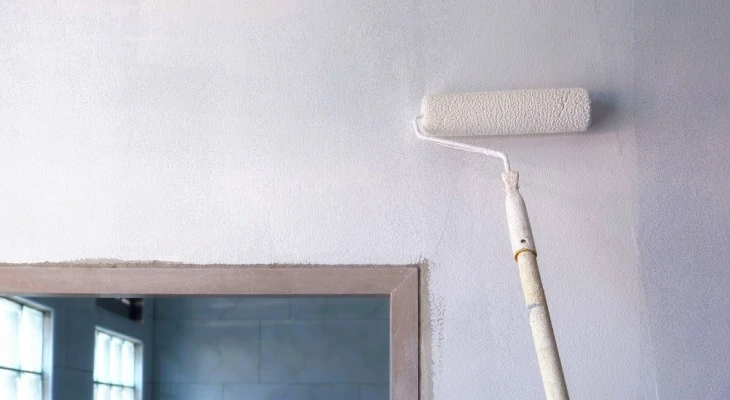
If you are using a roller, soak the roller in the primer. Apply the primer to the area with an up and down motion making a “W” shape. Reload the roller as needed and work your way throughout the entire project.
Wait for the Primer to Dry
After 30 minutes to an hour, lightly touch the primed area to see if it is dry. Wait until it is completely dry before applying another coat, or painting.
Sand the Area
Sanding isn’t necessary for all surfaces. To achieve a smooth finish on drywall or wood, sand any rough spots. Wipe away the dust with a damp cloth.
Repeat As Needed
Some projects require multiple coats of primer. Assess your project to determine whether a second coat will help seal the surface.
Final Thoughts
Primer is a great tool to seal any surface, and allow for a smooth coat of paint! Don’t skip this important step in your painting project. Primer needs to be 100 percent dry before more coats of primer or paint can be placed on top of it. Make sure you know how long to wait before you paint!