We’ve all been there! All set to go in front of your painstakingly prepared piece – sanded, primed, and ready to apply the final finish with the spray paint can to get the smooth final touch.
You push the nozzle. Instead of a fine spray of color gently coating the surface, you get a spluttering stream of paint globs that go in all directions. This completely spoils the effect you are trying to create. Or you depress the nozzle, and nothing happens. Zilch, zero.
Table of Contents
Turn the Can Upside Down

Spray paint manufacturers recommend turning the can upside down to clear any blockages. The theory behind this is that by inverting the can and depressing the nozzle, a sharp burst should propel any blockage out of the tube.
If this does not solve the problem, you have to find out if the nozzle or the can is clogged.
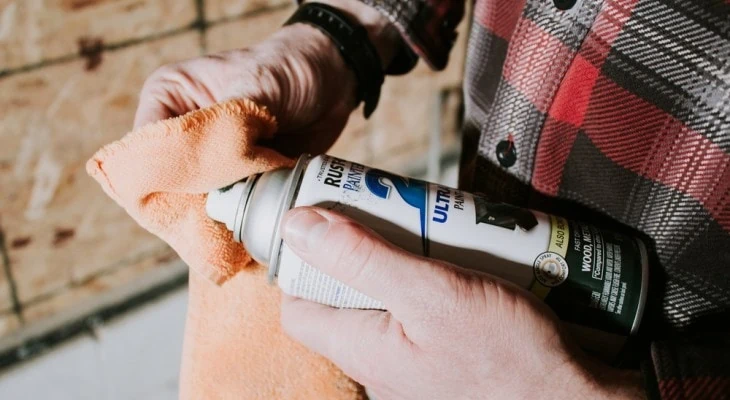
To do this, gently prise the nozzle off the can and carefully press down on the protruding tube using a cloth to catch any possible paint that may be released.
If paint comes out of the tube, then the can is not blocked. Therefore it is the nozzle that has the obstruction. If no paint is released (and you are sure that there is definitely paint in the can), then the can is blocked.
How to Clear the Nozzle
![]()
Start by gently removing the nozzle. Insert a fine needle or piece of wire into the outlet and also into the fine tube at the bottom and prod it around. This will clear any small paint lumps blocking the outlet.
Another solution is to soak the removed nozzle in a strong solvent like paint thinners, turpentine, or acetone for an hour or two. Dry it off thoroughly with a paper towel. Then blow hard through the tube at the bottom of the nozzle.
Last Resort, WD40
Take the nozzle off a can of an aerosol solvent such as WD40 and swap your clogged paint nozzle onto the WD40 can. A quick spurt should dissolve any blockage, and you are good to go.
If all this fails, take a clear nozzle from a similar spray paint can and throw the clogged one away!
If It’s Not the Nozzle but the Can that’s Blocked
The only way to clear the tube that goes into the can is to force air back into the can. For this, you will need compressed air and a tire valve. Use this to send a short burst of air into the can to break up any lump in the tube that is causing the problem.
Keep a cloth over the top of the tube in case any paint is expelled during this process. It may take one or two tries to clear it completely. Test in between attempts to see if the paint sprays properly.
If you do not have an air compressor, then a bicycle pump can also be used. This will be easier if there are two people. One to hold the valve over the tube on the can and protect it with a cloth, and the other person to use the pump.
Tip:
If you do succeed in clearing the can, then it is best to use up all the remaining paint. By introducing air into the can, there is a possibility that it will cause a crust to form on any leftover paint. This will make it completely unusable.
If nothing works, throw the can away and buy another one!
So, How to Avoid Blockages in the future?

Like so many things, it is better to take steps to avoid this than deal with the outcome.
Spray paint cans contain paint and a gas propellant. These need to be thoroughly mixed in order to become thin enough to be propelled out through the nozzle.
Aerosol paints have an agitator, normally a small marble or metal ball bearing that you have to shake up and down in the can to mix the paint before you spray.
That means shaking the can for a good few minutes. The recommended time is normally printed on the can. Don’t rush this, as this can lead to gooey paint clogging the nozzle. Exactly what you want to avoid.
Another Way to Avoid Clogging
Gently and evenly depress the nozzle and shake the can between bursts of paint.
It is far better to use the spray paint in short spurts rather than depressing the nozzle to try and coat the whole piece in one go. Keep a piece of waste cardboard next to the area where you are painting to practice getting an even flow of paint.
Also, use thin layers to build up the paint. Let it dry thoroughly before adding another fine layer to eventually achieve your desired result. This avoids a heavy coating of paint that tends to run and looks unsightly.
To clear the nozzle before storing the can when you are finished spraying, turn the can upside down and spray a short jet of propellant onto waste cardboard.
thanks pat, i will get on it after my sabbath…. what a long rotten day i had today with several cans of clogged paint!