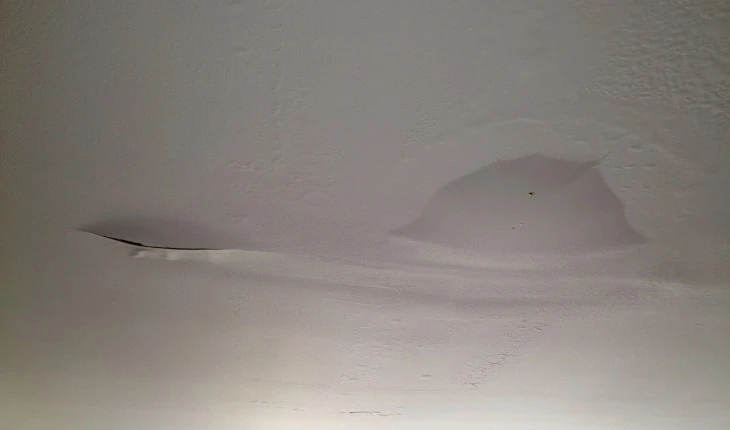
It can certainly seem like a disaster waiting to happen: a water bubble has formed on your ceiling, and you’re nervous about it popping and dumping water all over your floor. You may be wondering if you can pop it yourself.
If there is a large bubble in your ceiling paint or your ceiling plaster, it is ok to pop it as long as you are prepared to fix the area immediately. Make sure you grab your supplies and be prepared to dry the area well afterwards.
Table of Contents
Plan and Prepare Beforehand
Before you go poking the bubble on your ceiling, get ready for some aftercare & problem-solving.
Find the Leak
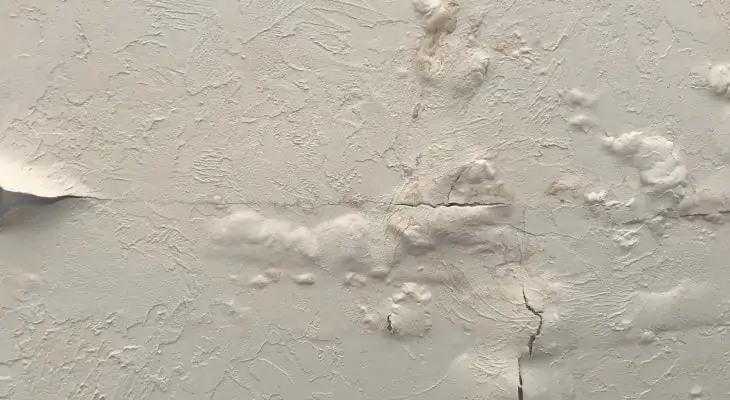
Water bubble forming on the ceiling is more than likely sign of a leak. It could be in plumbing pipes or from the roof. The cause of the leak needs to be determined, and a plan of action should be made immediately.
Sometimes that involves calling in professionals to examine and repair these areas of your house.
Gather Your Supplies
Get everyone together before you pop the bubble so that you can work quickly and efficiently to clean up and repair the area. The entire process should take approximately an hour, depending on the amount of damage.
The things you will need are a bucket or small cup, clean dry towels, a paint scraper, room fans or a hair dryer, a marker or tape, and possibly an X-acto knife.
Prepare for More Costs
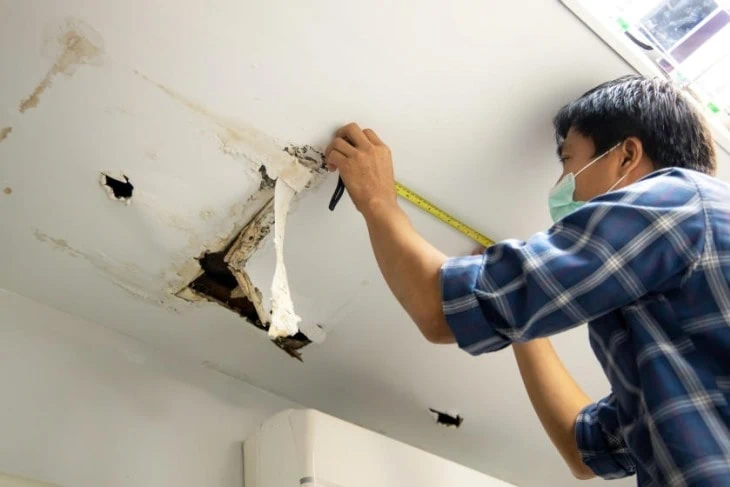
It’s possible that after popping the ceiling bubble, you may notice more damage than you originally thought. If the water has sat for a period of time, you could be dealing with damaged drywall or mold.
So mentally prepare yourself beforehand and hope for the best.
How to Fix a Ceiling Water Bubble
Once you’ve got your supplies, you can proceed with fixing your ceiling.
Pop and Catch the Water

Place your bucket on the ground below the bubble or if the bubble is smaller, you can climb a ladder and hold a small cup underneath it. After you pop the bubble, give it a few minutes to thoroughly drain into your container.
Remove Surrounding Paint or Plaster
Start peeling away the wet paint or plaster to keep it off the wall underneath. You should be able to use your hands, but you may need a paint scraper to get every last bit. You want to peel slightly beyond the radius of the original bubble.
Dry the Area Well
Using either a high-powered fan or a hair dryer on the low setting, dry the area completely. You want to remove as much moisture as possible before you make any further repairs.
Assess the Damage
While it’s drying, gently press on the ceiling to determine its integrity. If it feels soft and spongy, then it has penetrated several layers of the drywall, and it may need to be replaced. Take note of any discoloration or mold.
Mark the Area (Optional)
If you plan on having a professional come and fix the ceiling underneath the paint, mark the area with either tape or a marker and don’t do anything further except continue to dry it.
Repair & Repaint
If you aren’t having a professional come to repair the area, then you can continue to repair it yourself. Cut out any damaged drywall with the X-acto knife and replace that as specified, then repaint the area after it has thoroughly dried.
Note: If you are repairing the area yourself but have a professional fix the leak, you may want to hold off on this last step until the leak is completely fixed, or else it could accumulate more water while you are waiting.
If you are repairing both the ceiling and the leak yourself, make sure you repair the leak first or immediately after all repairs.
Final Thoughts
Although a water bubble on your ceiling can signify an underlying leak in your house, it is safe to pop it as long as you’ve gathered your supplies.
You can still repair the ceiling while you are waiting on repairs for the leak. Make sure you prepare beforehand, though, because there could be more water than anticipated in the bubble, especially if the leak is significant.