Painting an acoustic guitar is a lengthy process, but it can be worth it if you stick to it. Patience is the key to achieving a flawless new look for your guitar. To get started, you will need a few supplies.
Table of Contents
What is Needed to Paint an Acoustic Guitar?
All the items you will need can be found online or at your local hardware store. Here is what your will need:
- Dry and clean microfiber cloths
- Denatured alcohol
- Primer spray
- Painting tape
- Newspaper
- 600 and 1200 grit sandpaper
- Acrylic spray paint
- Varnish
How to Paint an Acoustic Guitar
Once you have all these items, you can get started. Follow these step-by-step instructions to learn how to paint an acoustic guitar and achieve the ultimate make-over.
Disassemble and Clean
First things first, you will need to disassemble your guitar. The strings should be the first thing you remove. If you do not know how to do this, you can view a how-to video below.

Now that the strings have been removed, you can start to clean your guitar with the denatured alcohol and cloth. Pour a small amount onto the cloth and rub the guitar surface carefully.
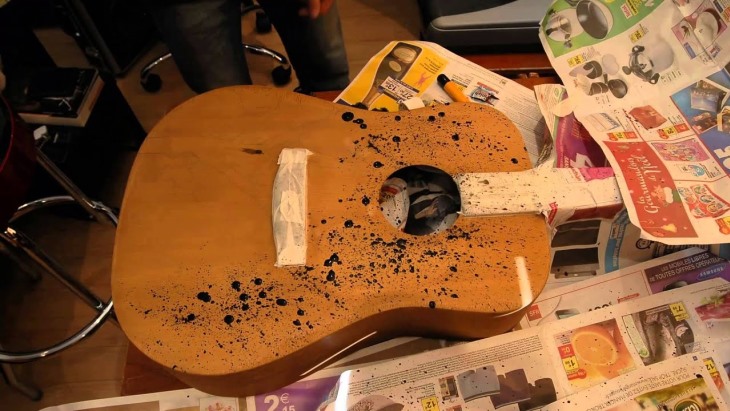
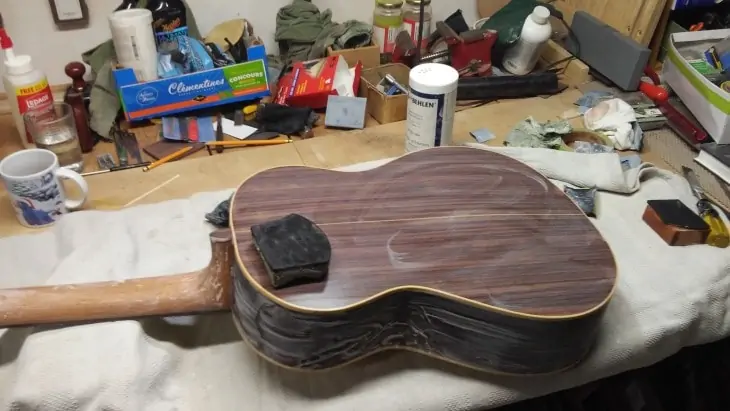
Painting Tape
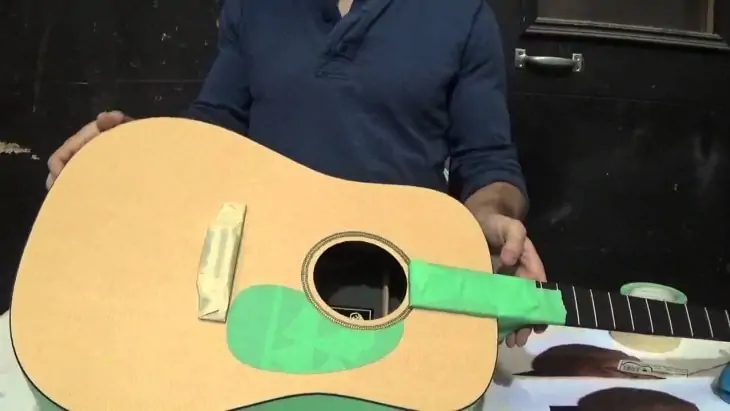
Use the painting tape to cover the areas you don’t want to be sprayed. You can take some newspaper to cover the majority of the neck and seal it with tape. Use the unsharpened edge of a knife to push the tape into the crevices for perfect coverage.
Sanding
Gently sand your guitar surface using the 1200 grit paper. Never use circular motions when sanding a guitar. Instead, sand in one direction, following the grain.
Sanding will help provide better adhesion for the paint to stick to the surface. Once you are done sanding, wipe off your guitar using a dry microfiber cloth.
Applying the Primer
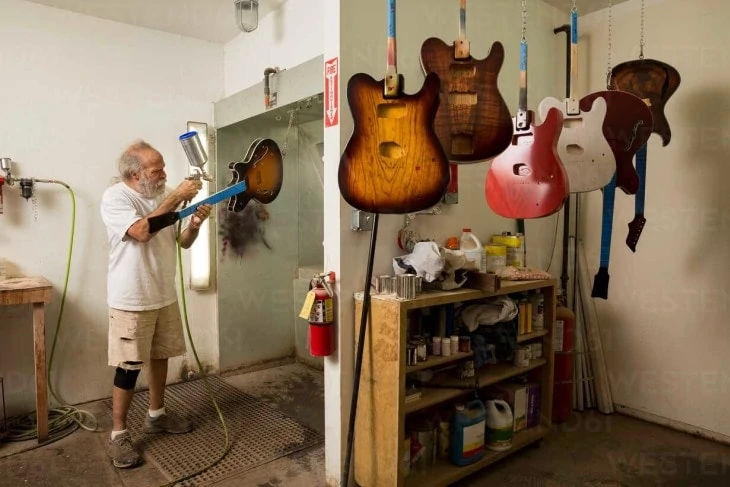
The best way to paint your guitar would be to hang it up in a dry area with good lighting. To apply the primer correctly, use long back and forth movements for even coverage.
It would be best to apply at least two coats of primer, and you need to let it dry for an hour before spraying the second coat. Once the two coats of primer have been applied, it needs to be left alone for 24 hours before painting.
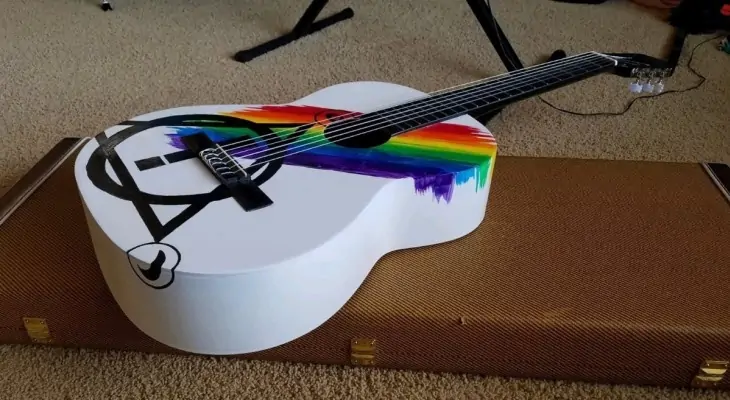
Painting Your Guitar
Once your primer has dried completely, the painting can start. Go slow, and ensure you are applying an even coat. You can spray on two coats of paint, always making sure you are letting the paint dry between coats.
If you are painting in warm weather (65-85 degrees Fahrenheit) and applying thin, even coats, you only need to wait 5 minutes between applications. Otherwise, to be safe, wait 1 hour between each coat.
Leave the guitar to dry for 24 hours because you will be sanding it again. Using the 600 grit sandpaper, sand the surface exactly as you did before.
To finish the job off, take the 1200 grit sandpaper and smooth out the surface. Wipe the guitar down with a clean, dry microfiber cloth, ensuring no residue is left behind.
Repeat the painting process until you have six coats in total and leave it to dry for 24 hours. Sand it once more with the 600 and 1200 grit sandpaper until smooth.
Apply the Varnish
The best protection for acrylic paint would be certain types of varnish. This product from Savoir-Faire is an excellent choice.
Other products that would be a good fit are this clear acrylic paint from Krylon and archival spray from Golden.
You will need six coats of varnish, ensuring that you wait 10 minutes between each coat. Leave your guitar to dry for 24 hours, and then start to sand it down. This time you are going to use the wet sand technique.
Soak your sandpaper in water overnight to ensure it absorbs moisture. Start with 400 grit and work your way up to the 2000 grit. Sand the surface gently in one direction until smooth and shiny. Wipe off any remaining residue with a dry cloth.
Remove the Painting Tape and Reassemble the Guitar
Slowly remove all the coverings and tape and reassemble your guitar. If you are unsure about how to restring, you can learn more about below.
Will Painting a Guitar Affect its Sound?
The answer is not so easy and depends on a few factors. If you opt for a full-on paint job and not just certain areas, the answer is yes. The variation of the sound will also be subject to the density of the coats.
Guitar’s sound and tone come from vibrations and resonance. Thicker paint will deter the vibrations, thus affecting its sound. So it is essential that you keep your coats as thin as possible when you are painting.
Painting the sides and the back of the guitar will have a lesser effect on the sound than painting the top of the guitar.
Safety Precautions
When working with any toxic chemicals, it is essential to take the proper precautions to ensure your safety. Inhaling paint can cause a lot of different health issues. These fumes can cause short and long-term side effects.
Short-term side effects can include irritations of the eyes, nose, and throat, headaches, and nausea. Long-term side effects can cause liver, kidney, and central nervous system damage.
Ensure you are always painting in a well-ventilated area. Wear gloves, protective eye goggles, and a mask to avoid too much contact with these chemicals.
Final Thoughts
To achieve that flawless finish, take your time. Always let your paint dry between coats. If you do not, you could end up with thick, uneven paint.
Just like painting a drum set, giving your guitar a make-over is a long and challenging task that requires a lot of patience. You are constantly waiting for paint to dry and sanding down the surface, but all the hard work will be worth it if you put in the time and effort.